Wednesday 27 August 2014

Render and Weatherboards

The external areas of the house have had a bit of a makeover this week. 
On Friday the eaves were up and on Saturday and Sunday they were painted.
Friday, the weatherboards were also put on the back of the house.
Rendering started on Monday (pre-render). I didn't post the photos the last few days as I thought they would have come back Tuesday or today. We think they may now be waiting for the brickie to finish above the door. The scaffolding was being pulled down today too which will make access easier for them (in some ways!!!)

Full render to front facade
Main pier - tiled in Eco Alabaster Grigio Porcelain 300x600 (as seen on the Sorrento)

Pre-Rendering Starts


Front part started - sides and back still to come

Really starting to come together

Weather Boards go on the Back


(You can see the wall that still needs to be bricked - 
so glad its on the eastern side)


Kitchen Caesarstone (sneak peak)

It was great to finally get some photos of the Caesarstone in the kitchen as the last time we were there they were still working on it. It was hard to get photos to capture it as the cardboard was on top protecting it. I was too scared to move it too much. We might have to wrap in in plastic when we move in so it doesn't get dirty!!!!

Benchtop - Caesarstone Osprey 20mm
Island Bench - Caesarstone Osprey 40mm with waterfall ends
Cupboards and Drawers - Vinyl Wrap Polar White

Close up - cooktop to go in behind


Butlers Sink (with cardboard!)


And Without!

Double Sink in the Island

 This is as gutsy as I could get in moving the cardboard off the top!

Island Bench


Monday 25 August 2014

Porcelain Tiles - Without Grout

The tiler had a busy weekend at our house, working both Saturday and Sunday. I ducked in Sunday to have a sneak peak and was so excited to see most the tiles finished. They are looking very special - even without grout/cleaning etc! He had yesterday off, but when I drove past today, he was back. So I might have some grouting photos in the next few days! The tiling in the ensuite is at a bit of a standstill till the window in the shower in replaced (with correct size) as the bottom reveal is tiled (it will also need to be waterproofed).

Ensuite

Floor Tile - Polished Porcelain Crystal Super White 300 x 600
Wall Tile/Bath Hob -  Polished Porcelain Alto Eggshell 300 x 600
(Caesarstone - Linen, Laminex - Polar White Silk)


Bathroom
Floor Tile- Polished Porcelain Smoke 300 x 600
Wall Tile - Polished Porcelain Crystal Super White 300 x 600
(Caesarstone - Urban, Laminex - Polar White Silk)


Ground Floor Powder Room
Floor Tile- Polished Porcelain Crystal Super White 300 x 600
Wall Tile - Polished Porcelain Alto Nero 300 x 600
(Caesarstone - Urban)


First Floor Powder Room
Floor Tile- Polished Porcelain Smoke 300 x 600
Wall Tile - Polished Porcelain Alto Nero 300 x 600
(Caesarstone - White Shimmer)


LOVE IT!

Brick Clean - Boral Mocha with Off White Mortar

Last week our bricks were cleaned. I thought the brickies had done an amazing job and they didn't even look like they needed a huge clean. It's not until they are that you see the true colours! The walls were still a bit wet in the photos. We still have a few sections that need to be bricked - above the balcony door, kitchen wall and dining sill. Unfortunately our brickie has fallen ill and hence the delay. He should (hopefully) be back on this week...

Here they are; Boral Mocha Bricks with Off White Mortar

Before the Clean

After!


Bricks are still a little bit wet, so I will get another photo next time!

Tuesday 19 August 2014

Caesarstone!!!!!

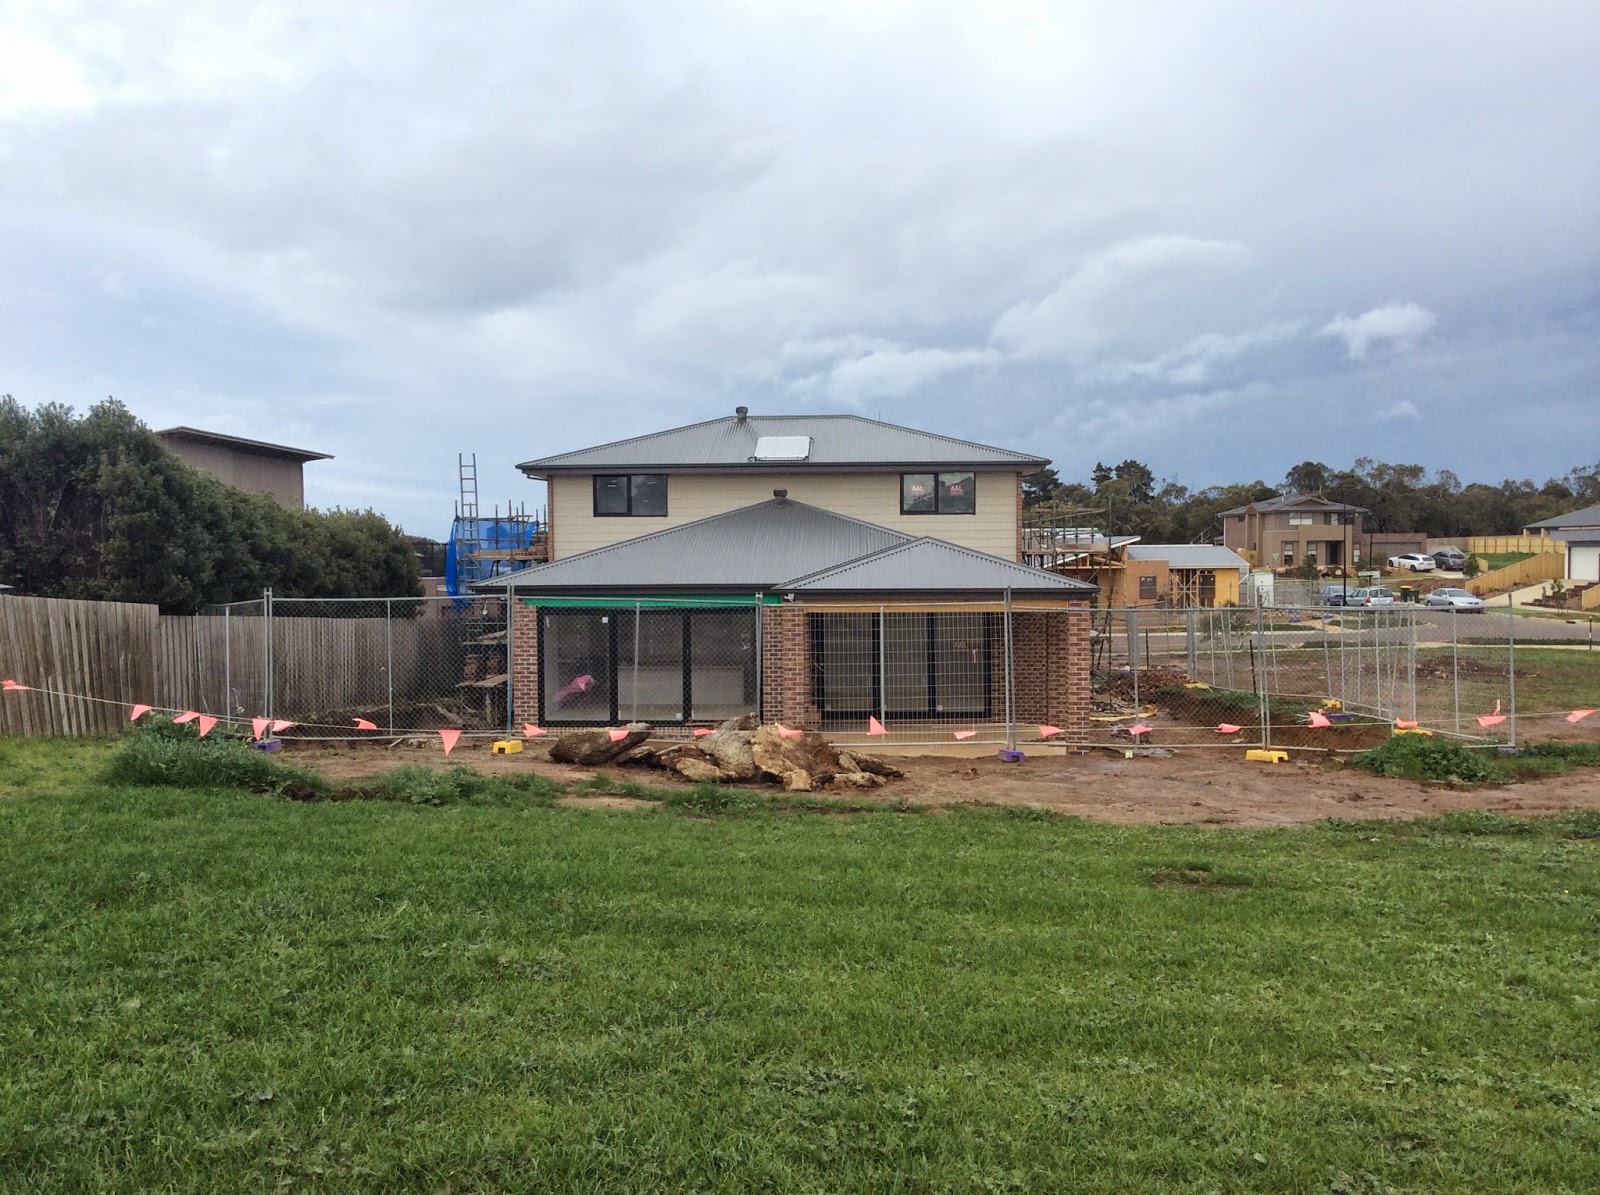
I turned up at the house today to have a measure and quote for the curtains and the Caesarstone was being installed. It's not all finished but I was able to get some photos of the work in progress! The tiler has also started so this should continue in the coming days. It's starting to feel like a real house now!!!

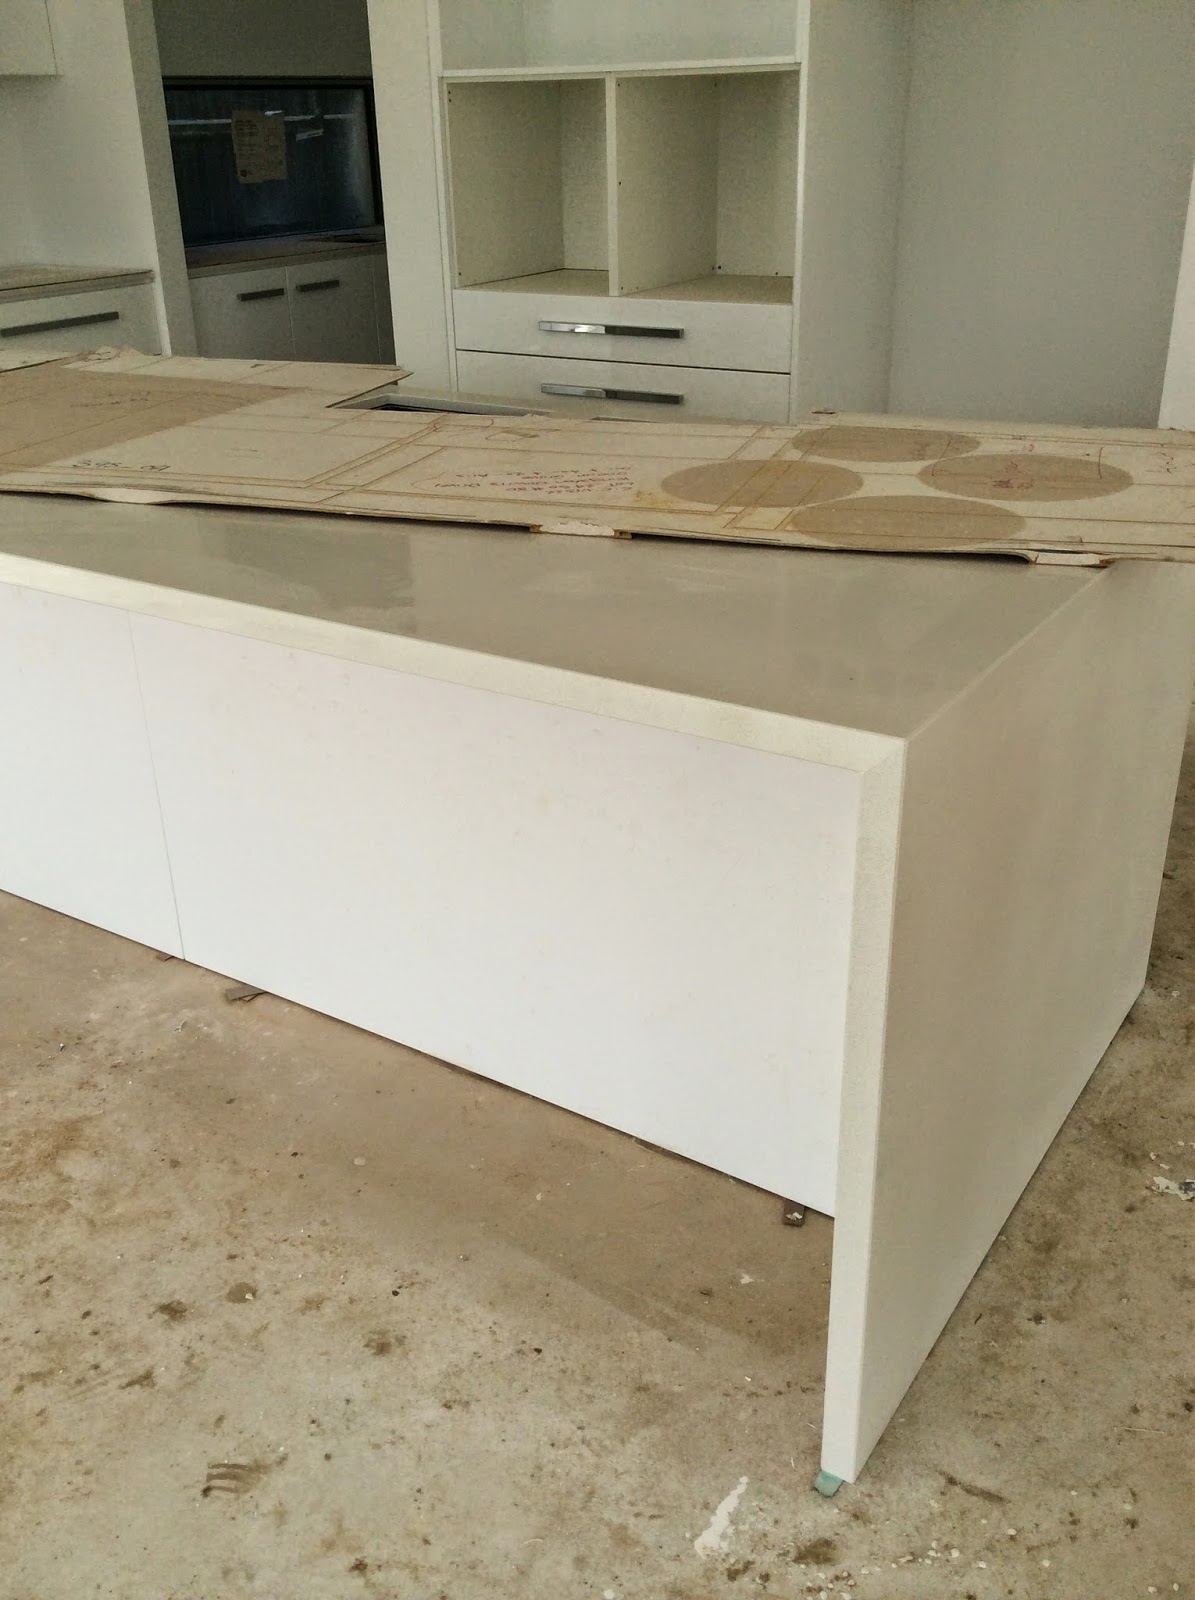
There are some errors at tender and contract that you fix up and there are some you do not... This was an error (not on our behalf) that we chose to ignore. We didn't know if it would ever really happen, but it has! We chose Option 5 for our ensuite vanity (as displayed at Mernda). This vanity option included 60mm edge of laminate. The Carlisle Homes 'Celebrating 10 Years' package - included an upgrade to Caesartone 'Category 1, 20mm Caesarstone to 16mm shadowline to ensuite and bathroom.' However, in our drawings they left this as 60mm Caesarstone (our colour selection said 20mm, so it was a 50/50 chance).
You win some, you lose some!!! This was a great win!!

Ensuite Vanity - Option 5
Laminex Silk - Polar White
Caesarstone - Linen
Basin - Raymor Topaz
Floor Tile - Porcelain Crystal Super White 300 x 600

Ensuite Shower Base Prepped and Tiles Started
Floor Tile - Porcelain Crystal Super White 300 x 600

Ensuite Wall Tiles - Porcelain Alto Eggshell 300 x 600

Smoke Floor Tiles (for bathroom and first floor powder room)


 Bathroom 
Ensuite Vanity - Standard - upgraded draws
Laminex Silk - Polar White
Caesarstone - Urban
Basin - Raymor Topaz

Nice to see the doors in action while they work on the kitchen (strong glue)
No photos at this stage

Ground Floor Powder Room
 Caesarstone - Urban
Basin - Raymor Topaz
Floor Tile - Porcelain Crystal Super White 300 x 600
(Still to come - Porcelain Nero (black) 300 x 600 for wall)

First Floor Powder Room
 Caesarstone - White Shimmer
Basin - Raymor Topaz
(Still to come - Floor Tile - Porcelain Smoke 300 x 600
and black Porcelain Nero 300 x 600 for wall)
 

 Basin to go in

Laundry Tiles!!!!!
 Floor Tile - Porcelain Crystal Super White 300 x 600


The Attractive Foam..!!

For structural reasons, we have a small amount of rendered foam above the garage on two walls (to the first floor) and to the front of the gable (due to estate requirements). It's not preferred, but it's not a huge area and it will be rendered. We have also upgraded to have the whole facade rendered and porcelain tiles to the main pier (part render was included in the Carlisle Homes Affinity package)
 Finished Design of Facade

The rendered foam has been installed, as well as the metal capping/edging (not sure what this is called) to the bricks in readiness for it to be rendered. There was a slight error with the foam when this was initially done (late last week). When the brickies had bricked the wall above the balcony door they had left above it open; without a lintel or bricks. It looked like it was going to have an infill. Not again!! So when the foam went up as an infill above the door, we were quickly on the phone to our SS. He informed us that this is how they always do it....... However, our final drawings clearly have brickwork here. Affinity homes also include all brick infills above doors.... We were not happy with this response so he passed it onto his boss. His boss then called to say this is how it is done and tried to highlight the positives and that it would be rendered etc. If we weren't having full render (which we upgraded to) then they couldn't have it like this so it's not how it's always done. Our CLE was also informed and she waved her magic wand (she is always so quick to make sure things are rectified) and she phoned back within minutes to inform us a steel lintel was being ordered and that it would be bricked! The foam was pulled down the following day.........

Street View

Foam Around Bedroom 2 and Above Garage
This is the extent of the foam

The Foam Infill that was Quickly Removed the Following Day.....

The metal capping around the brick edges, reading for render

When I drove past the house tonight the steel lintel was being put into place and our SS told me that the brickies would be back sometime this week to finish off the few parts they hadn't yet finished.